


ok here's a quick setup i did in about 30minutes on Satuday night in the garage for a new animal i picked up at the reptile expo earlier the day. it will work for it's temp home while i get a more permanent one set up. also good for QT. it's for aboreal geckos/lizards.
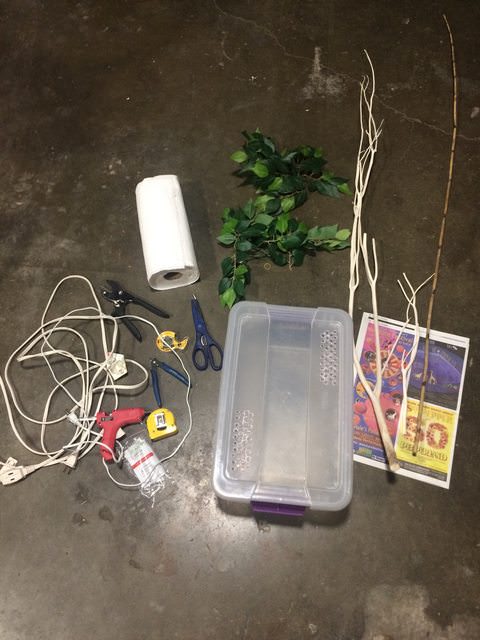
all my materials and tools:
-- 15quart tub box, it's like 11x17x7 (previously used as BP tub w/ air holes already created)
-- decorative manazanita wood
-- decorative straw
-- fake ficus plant
-- paper towel (for substrate)
-- newspaper (for background)
-- hot glue gun and hot glue sticks
-- extension cord (for hot glue gun)
-- double sided tape
-- tape measure
-- wire cutter
-- scissors
-- garden shears
not pictured
-- cocktail glass
-- soldering iron
-- UVB lighting
i had these materials lying around. here's everything:
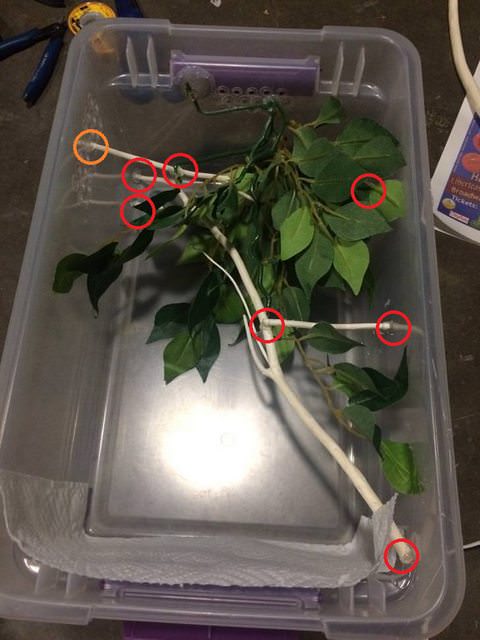
i started by flipping the tub and hotgluing the suction of the fake ficus to what would be the ceiling of the tub. i also hotglued a 2nd point of contact to the ceiling as circled in the next pix.
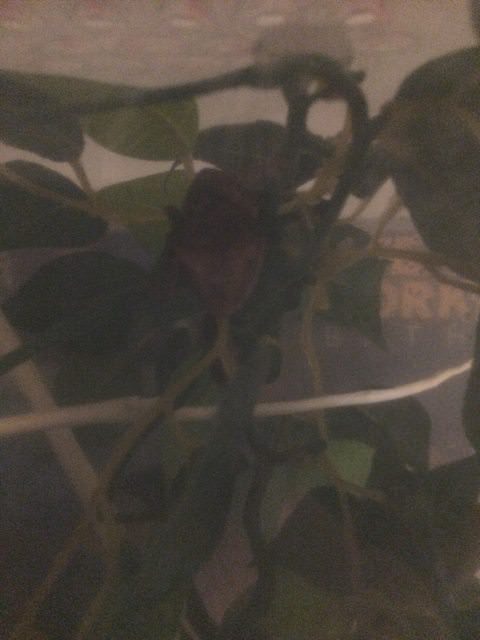
i flipped the tub right side up and hotglued some leaves to the side and back walls for more stability of the ficus. i also folded and added the paper towel substrate.
i measure and cut the decorative mazanita branch to add climbing and perches - both vertical/diagonal and horizontal. i don't exactly hotglue the branch into the bottom, but the sides or corners so that i may remove the paper towel substrate as it gets soiled. also the orange circle shows where i stuck the wood through one of the air holes.
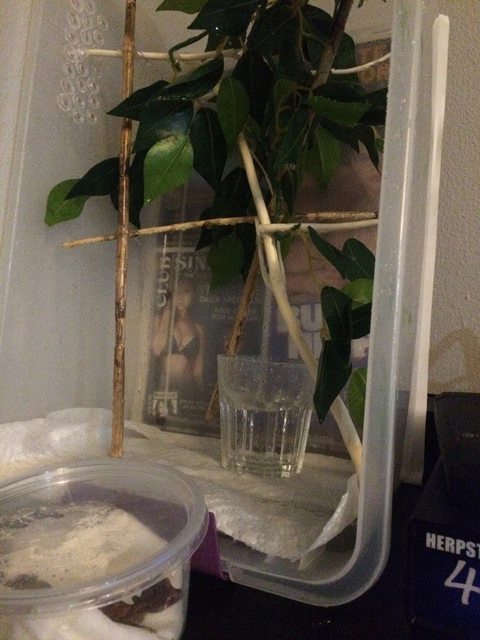
i measure and cut the decorative straw. i add and hotglue these for more stuff to climb on. and this results in a good amount of stuff to climb on and clutter. keep in mind that nothing actually touches the floor so that i may swap out my paper towel substrate.
time to add a background. i'm just using the back of a local newspaper but u can use whatever u want. so i flipped the tub, hotglue points of contact and lay the paper and cut the excess.
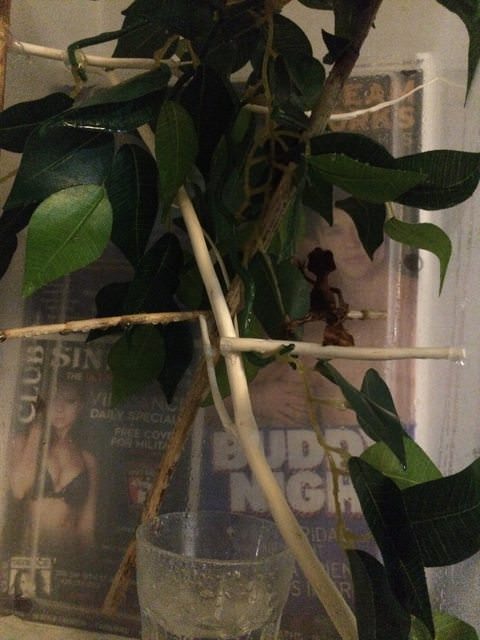
so far, so good. im might add, lookin' good too! so i stand the tub right side up. i add a glass w/ some water and give the enclosure a misting.
then i add my new lil buddy. he hops right in!
i add the tub lid/enclosure front:
the plastic is not completely transparent, more frosted or whatever,, but i can still see inside. i see u!
bonus pix: cute lil poop and urates.
thanks for looking!
Edit: i moved the cocktail glass to the leftside, back corner afterwards. i will probably swap it out for a more shallow glass or dish (or add less water). 1 cricket already drowned and i don't want a gecko to do the same.


 Reply With Quote