So as my female should be laying me some spider eggs soon I figured I better get going on my incubator. I just used stuff I had laying around. A used cooler, heat rope, 2 cpu fans, some egg crate, some 1/2" pvc pipe, and an on off thermostat (will hopefully get a herpstat before egg time.
So here are all the "parts"
The PVC contraption will be filled with water to help with humidty and hold heat.
Heres the cooler and some thick plexiglass for supports and the cut egg crate.
1/2" pieces of 2" pvc to support the pvc rack with heat cable wrapped around
The heat cable wraped around the support and placed in the cooler
The plexi glass support in place-this is 3" wide to keep the eggcrate from resting on the fans
The cpu fans wired up to a 12v plug and facing each-offset to circulate the air.
The egg crate and fans placed over the heating cable-note the air flow. The thermostat probe is also in place
The cables shown coming out of drain hole
This didnt take much time at all and basically didnt cost me anything as I had all the stuff laying around.
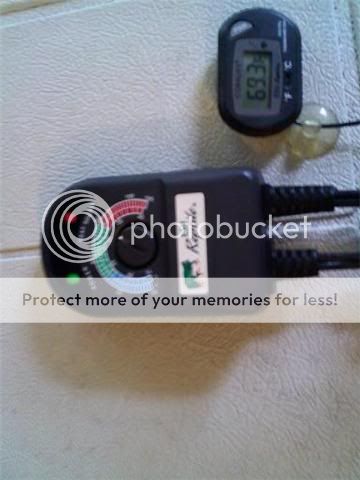
This was startup temp. It took less than 30 min to get up to about 90*. So well see how well this works. A very simple design that is easy for anyone to build.


 Reply With Quote