


Open Gimp:
Go to File > New:
Make a file 640 x 400:
Go to Select > All:
Go to Layer > Transparency > Add Alpha Channel:
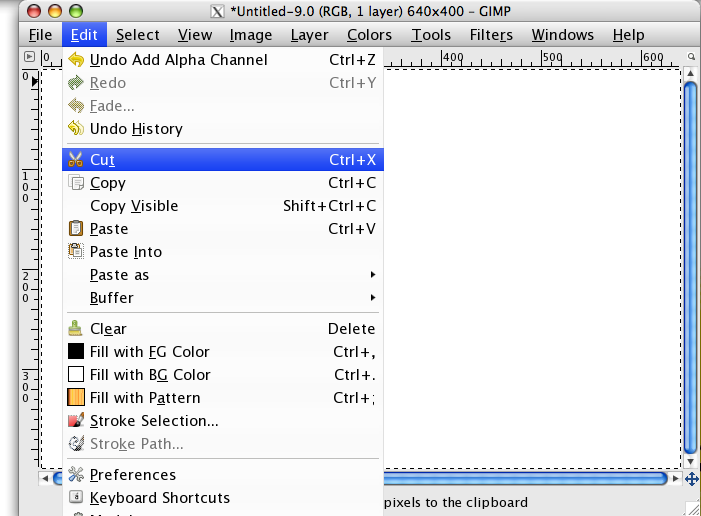
Then Go to Edit > Cut:
Your Whole Background Should Then Be Gone:
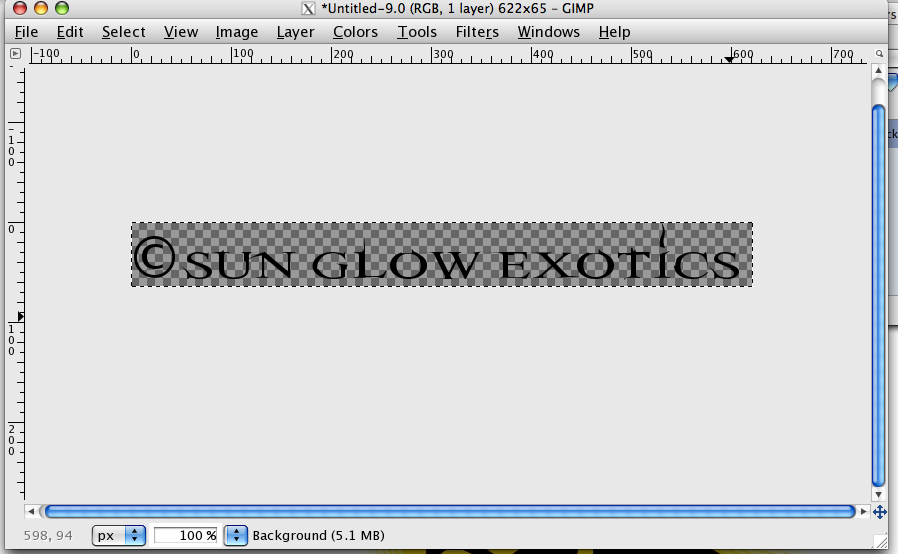
Type In Your Text & Crop As Much As Possible (I would suggest making your font color white.. It is black in the picture, but you will see i changed it later on):
Go to Image > Scale image, and save the width to 500 Px. Save as "Desired Name.xcf":
Now whenever you need to use your watermark you just have to open the "watermark.xcf" file, and the picture you want to apply it to... On the "watermark.xcf" file go to select > all , then Edit > Copy...
Select Your Air Brush:
Select Your Watermark As The Brush (It will only come up if copied):
Scale To Desired Size Of Watermark:
Bring Up The Picture You Want To Watermark (In this case I'm Watermarking a picture of two 66% Het Albinos I Just Hatched Out):
Put The Brush Over The Area You Would Like To Watermark
Then Click As Man Times As You Would Like (I prefer two, but the more times, the darker the Watermark gets...) & You Have A Watermarked Picture:
This may look like a lot of work, but it's really fast an simple... I just added really easy, easy steps so it looks longer.... Once you have your Watermark saved, everything is as easy as it can get.. Just open your Watermark and Picture you wanted watermarked.. Copy the Watermark.. Select it in your brushes, and use the airbrush to put it on the picture.. Easy as that!
And I know there are other methods, but this is my way..
~Brandon


 Reply With Quote


")
