» Site Navigation

1 members and 2,850 guests
Most users ever online was 6,337, 01-24-2020 at 04:30 AM.
» Today's Birthdays
» Stats
Members: 75,087
Threads: 248,528
Posts: 2,568,676
Top Poster: JLC (31,651)
|
-
-
-
-
-
-
-
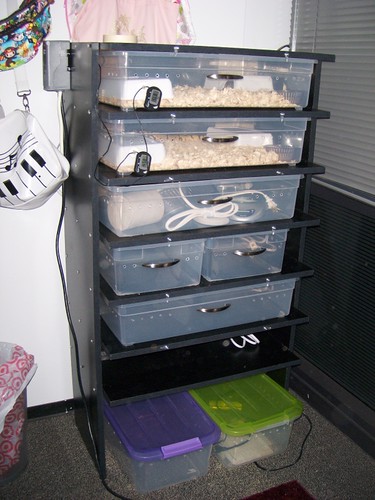
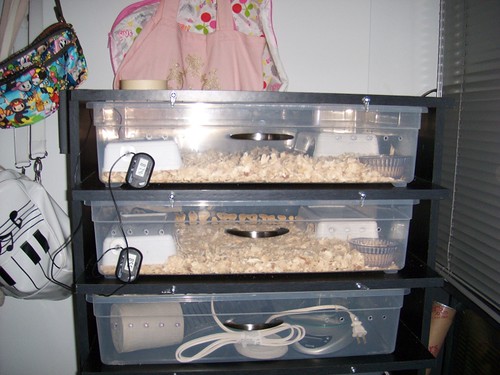
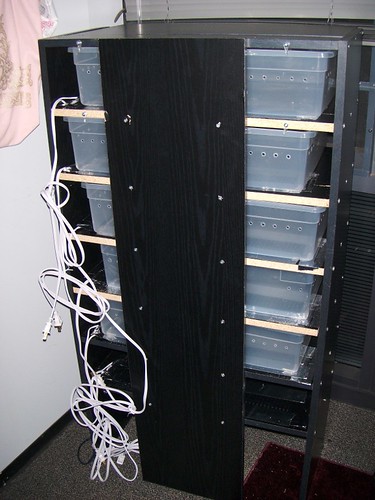
Re: Building a Sideways Rack, Progress DUW(seriously)
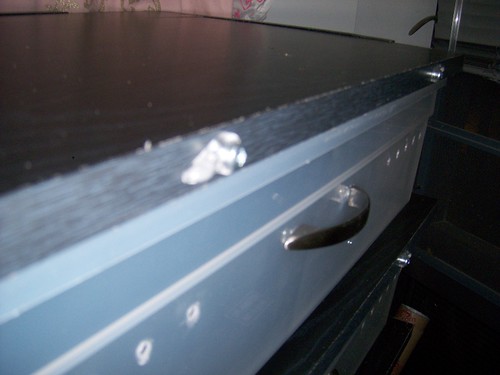
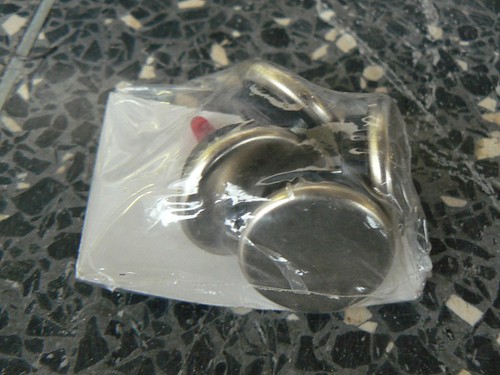
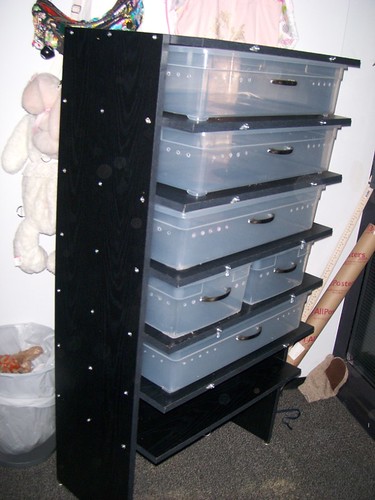
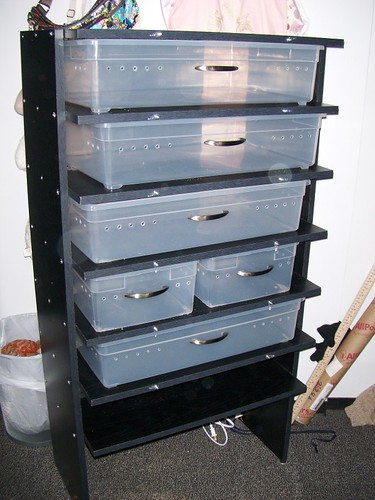
Looks good, I like the drawer pulls they add a nice touch.
Draco dormiens nunquam titillandus
-
-
Registered User

Re: Building a Sideways Rack, Progress DUW(seriously)
Very cool. I love building my own racks. I like the pull idea.
Justin
-
-
Re: Building a Sideways Rack, Progress DUW(seriously)
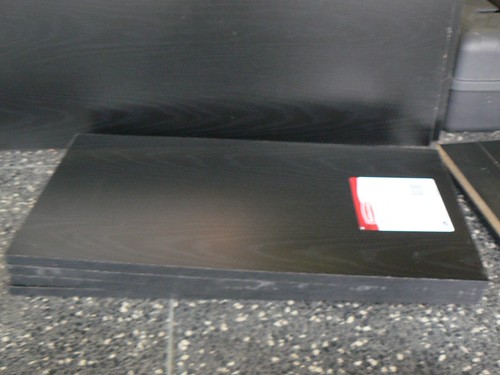
WHAT type of wood is that!?
I want that, I hate melamine!
-
-
Re: Building a Sideways Rack, Progress DUW(seriously)
It is acutally pre-finished particle board shelving I found in the shelving department at home depot. 
-
-
-
-
BPnet Veteran

Re: Building a Sideways Rack, Progress DUW(seriously)
Nice setup you got there. I like the pull idea. Are those handles stuck on or fastened on? I can't imagine stick ons lasting very long...
-
-
Re: Building a Sideways Rack, Progress DUW(seriously)
They are all fastened on with screws I don't think stick ons would last long either.
-
Posting Permissions
- You may not post new threads
- You may not post replies
- You may not post attachments
- You may not edit your posts
-
Forum Rules
|


 Reply With Quote


")