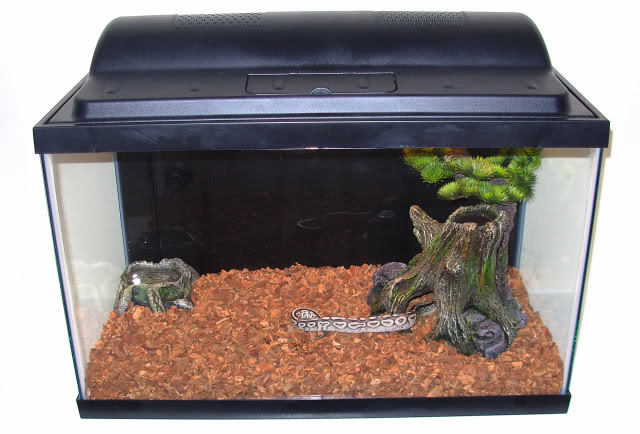
I have been wanting to display a baby ball python in the living room for a while now and thought I would share my solution.
I wanted something with excellent visibility, was easy to clean, provided the proper environment and had to be affordable.
So here is my solution that costs less than $100 and met my needs
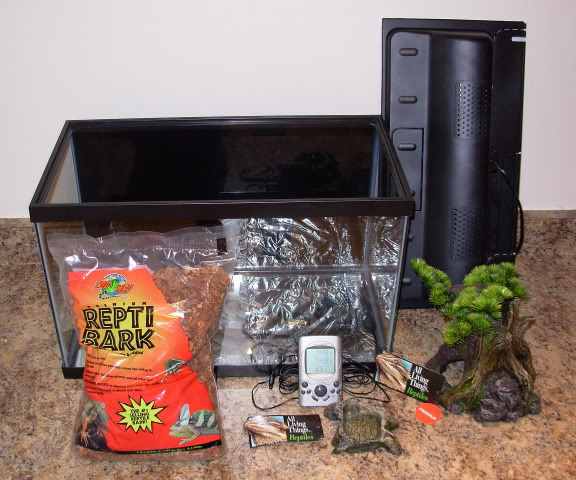
Most items came from PetSmart: 10 gallon aquarium with hood/ ReptiBark/ hide and water dish/ thermostat.
I already had the "medium" heat pad(designed for 10-20 gallon aquariums) and rheostat. An important note about these heat pads is the surface temperature is 115 degrees. I use a rheostat to dial it back down to 95 degrees.
The first step was the prep the aquarium. I choose to paint the back of it flat black to create a nice background color and hide any wiring. This was done with flat black spray paint on the outside out the glass. Next step is use aluminum foil to trap radiant heat inside the aquarium and avoid a hot spot created by the heat pad. I attached it using aluminum tape.
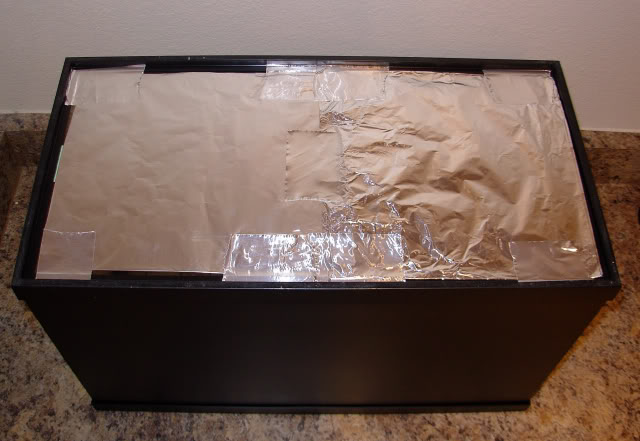
The next step is to prep the hood. This is a fish hood but offers a clean look and great lighting. The first thing I did was cut a piece of 1/4" hardware screen to fit in the recess of the hood. Then I used a hot glue gun to secure the corners of the screen to the hood. Next final step was to use the aluminum foil to secure the edges and close up any holes in the hood. The final step was to drill some extra ventilation holes in the back of the domed part of the hood. You will have to peel back the tape and cut the glue to change the bulbs a couple of times a year.
I set this up and let it stabilize for a few hours before introducing the snake.
Here is the final product


 Reply With Quote